Building a Web Scraper Using Puppeteer and Next.js API Routes
Due to the needs of a project, I'm revisiting Puppeteer after some time. Since it's been a while since I last used it, I did a quick review and decided to document it.
To make the explanation easier, I created a new Next.js application. For those who don't have the patience to read the entire article, you can click here to go directly to the source code.
What is Puppeteer?
Here is the official definition of Puppeteer from the Google team:
Puppeteer is a JavaScript library which provides a high-level API to automate both Chrome and Firefox over the Chrome DevTools Protocol and WebDriver BiDi.
Use it to automate anything in the browser, from taking screenshots and generating PDFs to navigating through and testing complex UIs and analysing performance.
I will not go into detail about the use cases of web crawling. I believe that the information you can find online will be more detailed than what I can explain.
What are we going to build?
We will create a demonstration application combining Next.js API Routes with Puppeteer.
Why Next.js? Next.js is just one option; you can easily follow the steps outlined in this article and implement the same functionality in similar frameworks, such as Node.js or Express.js.
This demonstration application will be divided into three sections: web scraping, webpage screenshots, and scraping and automating specific components.
Getting Started: Prerequisites
Before you start, you need to install puppeteer's related libraries. Execute the following command to install it:
In general, you only need to install puppeteer-core and @sparticuz/chromium. So, why do you need to install puppeteer? I will explain it later.
Next, we need to build an API route to initialize the puppeteer environment.
Note that I am using App Route, if you are using Page Router, you may need to make some adjustments.
There is one thing to note here, the configuration of puppeteer in the development environment and the production environment is different, and some adjustments need to be made in the corresponding environment. Without further ado, let's look at the code directly:
There are two things we need to configure here, process.env.CHROME_EXECUTABLE_PATH and CHROME_EXECUTABLE_PATH.
First is the value of process.env.CHROME_EXECUTABLE_PATH, which you can find by typing chrome://version in your Chrome browser and copying it to your CHROME_EXECUTABLE_PATH variable under your .env.

The value of the CHROME_EXECUTABLE_PATH will depends on your version of @sparticuz/chromium. For example, if your @sparticuz/chromium version is 131.0.1, then you go to this link and copy the corresponding version url address.
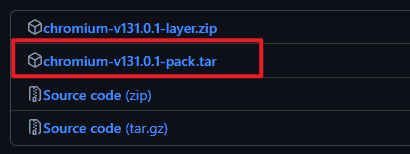
The above is the first method, which is the method I recommend. The second method requires the installation of the puppeteer library, which means it requires three libraries to implement, while the first method only requires two libraries.
Below is the implementation of the second method:
If you have to say what the second method has an advantage, it is probably that you don't need to set the value of process.env.CHROME_EXECUTABLE_PATH in the development environment.
Use Cases
Basic: Web data crawling
Web scraping is a relatively basic use of puppeteer, so let's start with that.
Let's go back to the route in /api/scraper/basic/route.ts and make some changes:
By observing the code above, you should quickly understand its purpose: using the value of siteUrl to navigate to the specified page and retrieve its title.
Of course, puppeteer can also capture more data about web pages. If you are interested, you can find out here.
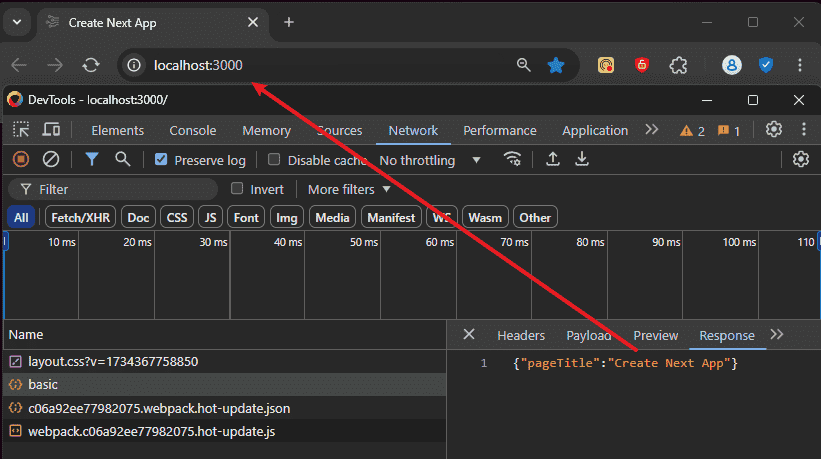
Now that we have completed the basic routing, the last thing we need to do is to set up an interface on the client side that can trigger the routing and the result is as follows:
Capture Page Screenshot
Puppeteer provides a screenshot interface, which we can use without spending too much effort. Here is the code:
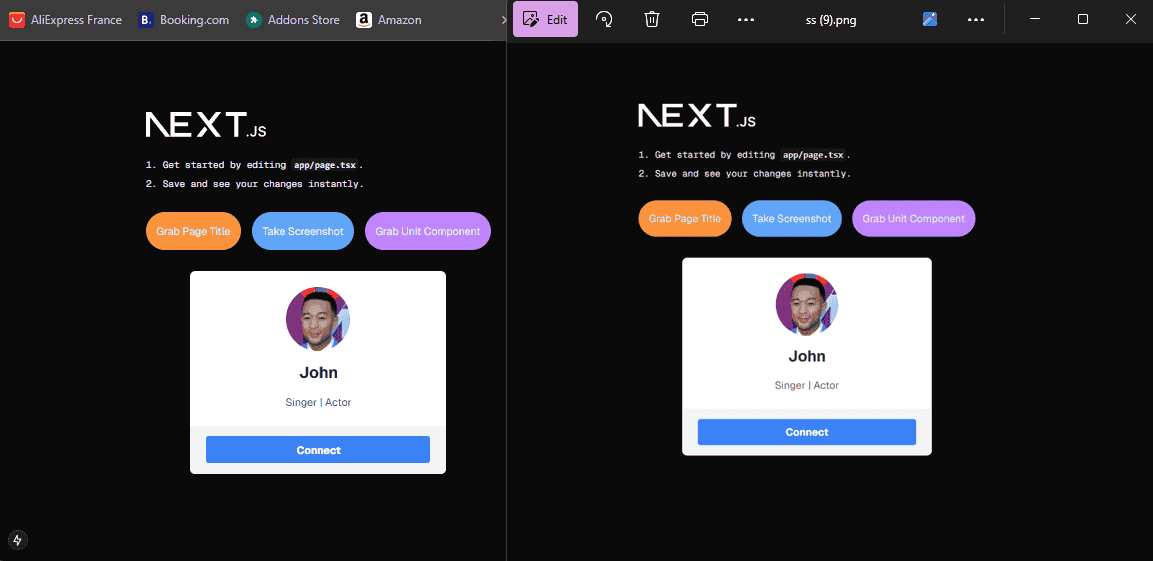
As you can see, after getting a screenshot of the specified web address, the endpoint responds with a value containing the binary data of the image. Using this data, we can download the screenshot image on the client side.
Here is a comparison of browsers and screenshots:
Scraping Individual Components
In some cases, you may want to capture data or screenshot only specific components of a web page.
Especially for reusable components, you only need to transfer the necessary props values to reflect the desired values in the component.
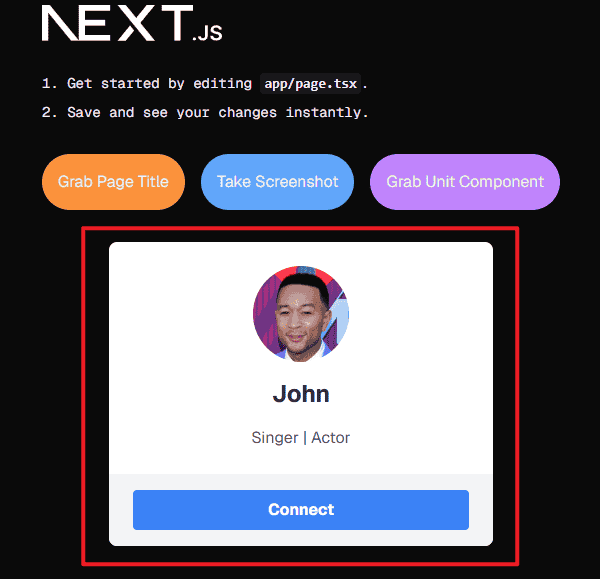
Therefore, we need to create a component first. Here I made a simple user info card, as shown below:
Then under the api/scraper/unit route:
Then, provide the corresponding data of the component's props when calling the endpoint.
Finally, you will get the following screenshot.
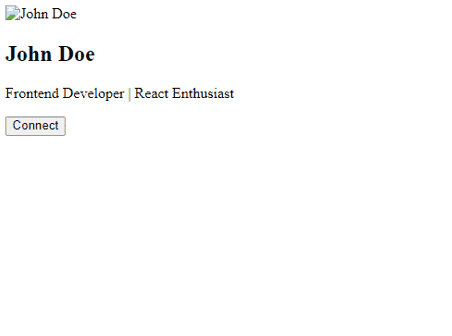
This doesn't look good, does it?🤔
If you review our routing code, you'll notice that our page instance isn't navigating to the target page to scrape data. Instead, it reads the component's structure and uses Puppeteer to create an instance where the component is rendered.
In simple terms, the component is rendering onto a blank page, which lacks any stylesheets or scripts from the local project.
Fixing this issue isn't too difficult, especially since the styles for our component are generated by TailwindCSS. Therefore, we just need to inject TailwindCSS's stylesheet into the "blank" page.
Calling the endpoint again, we get the following result:
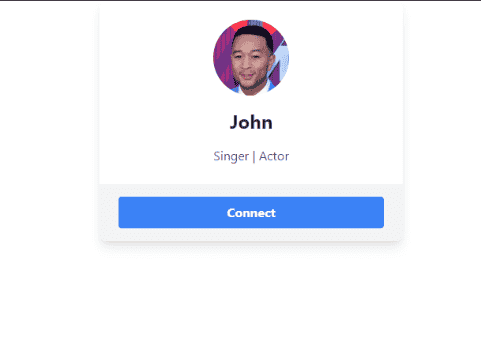
Timeout Issue
If your server has a default timeout value for requests and the processing time exceeds that limit, the server will respond with a "Request Timeout (408)" error.
Puppeteer is a bandwidth-intensive tool, especially if you're using free CDNs like Vercel. You're likely to encounter "Request Timeout" issues since Vercel's default timeout is only 10 seconds.
To address this, you need to extend the maximum timeout duration for your routes. This can be achieved by configuring the timeout setting in your API route, as shown below:
What's next?
You can combine Puppeteer with various tools to extend its functionality.
For example, you can upload images generated by Puppeteer to the cloud and return the corresponding URL. Another use case is generating HTML using component rendering methods and sending it to specific email addresses with email tools like MailKit, Resend, or SendGrid.
Additionally, you can use Puppeteer to scrape data and integrate it with AI tools to generate insights, summaries, or recommendations.
As for the rest, I'll leave it to your imagination and specific needs!
